In the digital era, when documents are increasingly stored in electronic form, scanning is one of the most useful functions a printer can offer. Whether we work in offices or use the device at home, the scanning feature allows us to save paper documents as files that can easily be sent by email, stored in cloud services, or archived for future use. Many printers today combine printing, copying, and scanning, making them a versatile solution for every user.
What types of printers offer scanning?
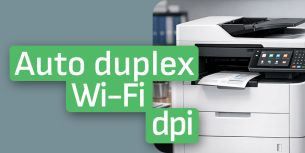
For scanning a document, a multifunction printer is most commonly used. These devices combine several functions in one – printing, copying, and scanning. Some models also offer additional features, such as faxing or direct uploading to a cloud service. Overall, the most common devices that support scanning are:
-
inkjet printers with a built-in scanner;
-
laser multifunction devices, suitable for business environments;
-
compact home models with basic printing and scanning functions;
-
professional machines from leading brands such as HP, Canon, Epson, Brother, Xerox, and Ricoh.
These devices differ in size, speed, and specifications, but all provide a convenient way to convert paper documents into files on the computer.
How to prepare the document for scanning?
Before starting the process, it is important to make sure the document is properly placed and the device is connected and configured:
-
turn on the printer and check if it is connected to the computer or network;
-
open the scanner lid and place the document face down on the glass surface;
-
align the sheet according to the marked guides on the edges;
-
close the lid to avoid unwanted shadows or glare.
Proper placement ensures a clearer and more readable result.
How to start the scanning process?
The way scanning is started depends on the specific printer model and brand. Usually, there are two main methods – using a physical button on the device or through software on the computer. Here’s what you need to do:
-
install the drivers and software according to the manufacturer’s instructions;
-
open the scanning program;
-
select the desired mode – color, black and white, or text;
-
adjust the settings such as resolution, file format (PDF, JPEG, PNG), and storage location;
-
press the “Scan” button and wait for the process to complete.
Once finished, you will receive a file ready for use or sharing.
What to do after scanning?
After the document is digitized, you need to make sure the file is readable and properly stored. It is a good practice to review the image and edit it if necessary. You can follow these steps:
-
check the file for errors or missing parts;
-
rename the document with a clear title for easy finding;
-
save it in a folder according to its type (invoices, contracts, work documents);
-
archive it on external storage or in a cloud service for an extra layer of security.
This way, you can be sure that scanned files are protected and accessible when needed.
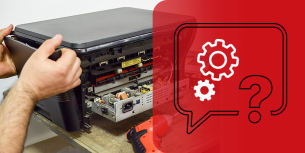
Common problems and solutions
Scanning can sometimes cause issues, especially with older or different printer models. Among the most common problems are:
-
no connection between the computer and printer – check the cable or network settings;
-
missing driver or software – download the latest version from the manufacturer’s website;
-
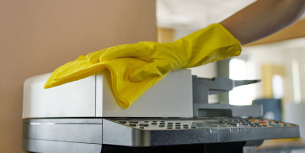
blurry or unreadable documents – increase the resolution and clean the scanner glass;
-
file size too large – use compression or choose a lower resolution.
Solving these problems ensures quick and seamless operation.
Scanning with a printer is easy, as long as you know the right steps and settings. It allows you to digitize important documents, store them securely, and streamline your workflow both at home and in the office. By following the correct instructions and using the right parameters, scanning becomes an easy and reliable step toward better organization and productivity.